TIME TO DIP CLEAN THE FRIDGE
We have a very buzzy household, sometimes things tend to get spilled in the fridge, which is what happened today. So I decided to use this as an int, that is time to give a good clean to the fridge.
I have different stages for cleaning the fridge
A
STEP 1 - VERY IMPORTANT - Turn the fridge off before starting to clean it.
STEP 2 - I bring the rubbish bin nearby, as I take things out, I throw out what is old food, and check dates( it isn't easy to keep up with dates on items, not that we follow the date thing to the line, we tend to use a bit of common sense for that )
FYI - Every fridge is different, if you are going to clean the fridge for the first time, take pictures of everything, including on which shelf the items go, how high the shelves are, what is the front or back of the self and so on…
STEP 4 - Materials that are needed to clean
Clean cloths
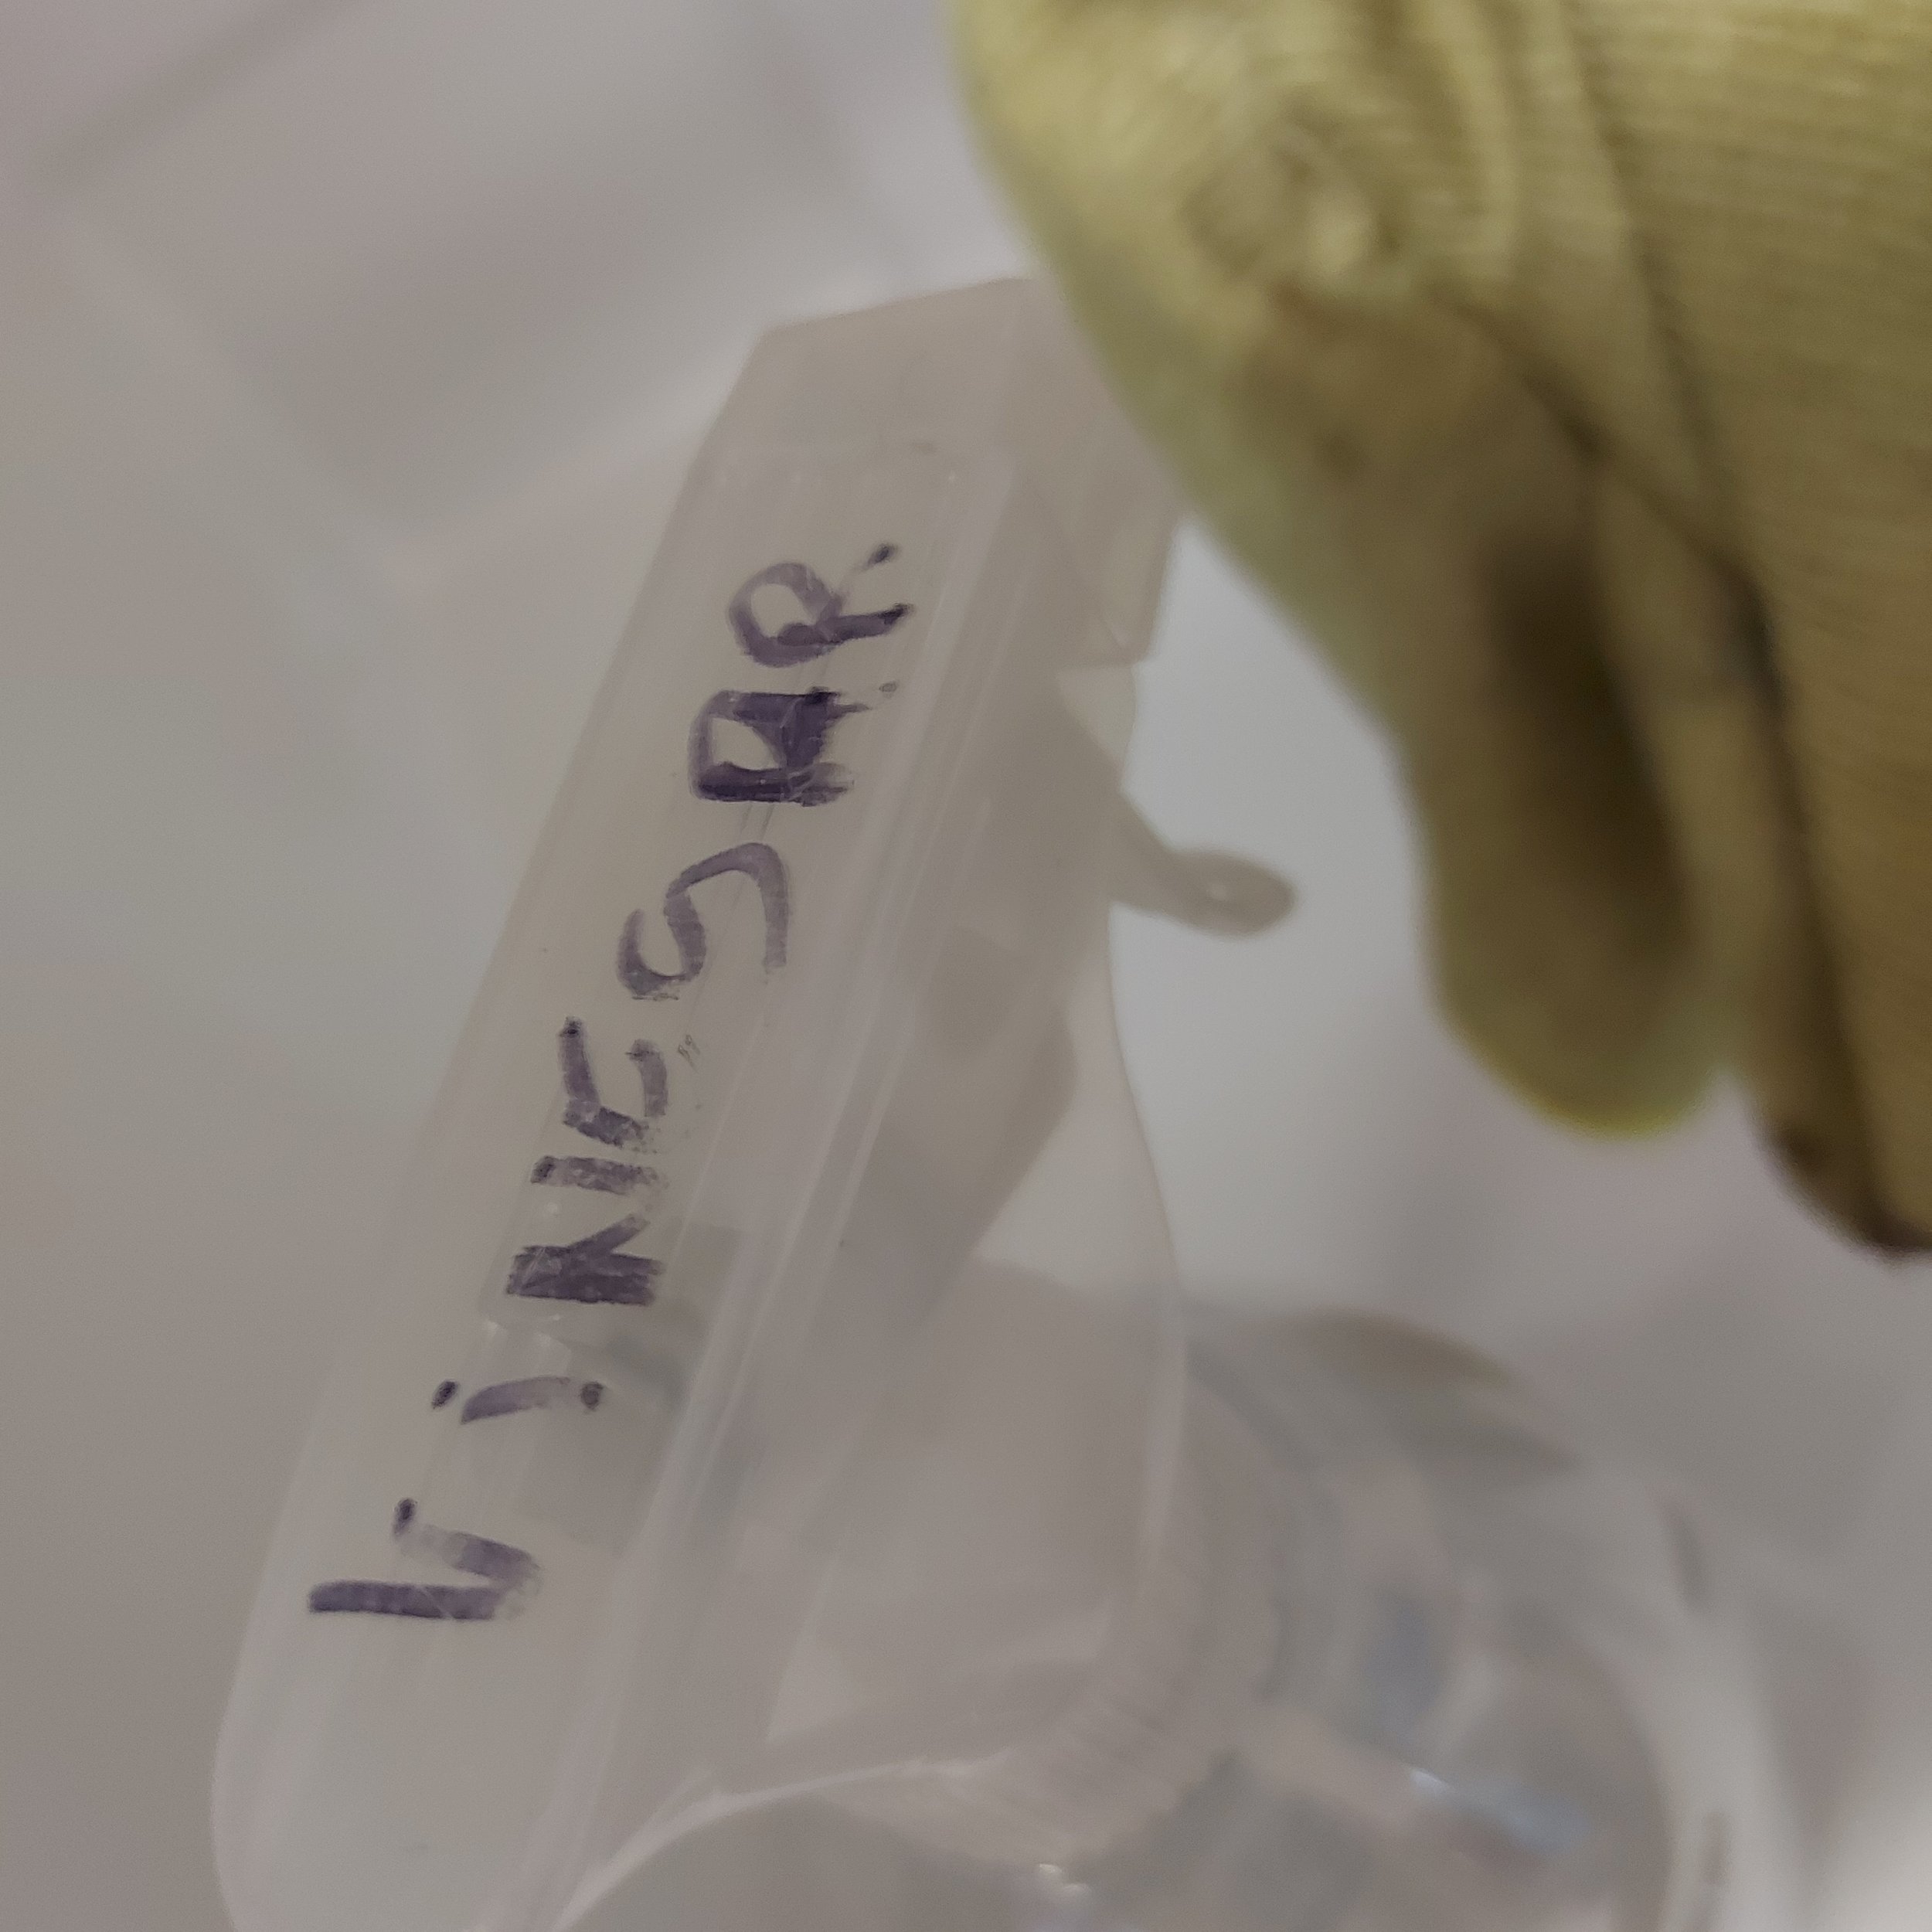
White vinegar
Table sal
Fairy liquid
B
Removing and cleaning the shelves and drawers
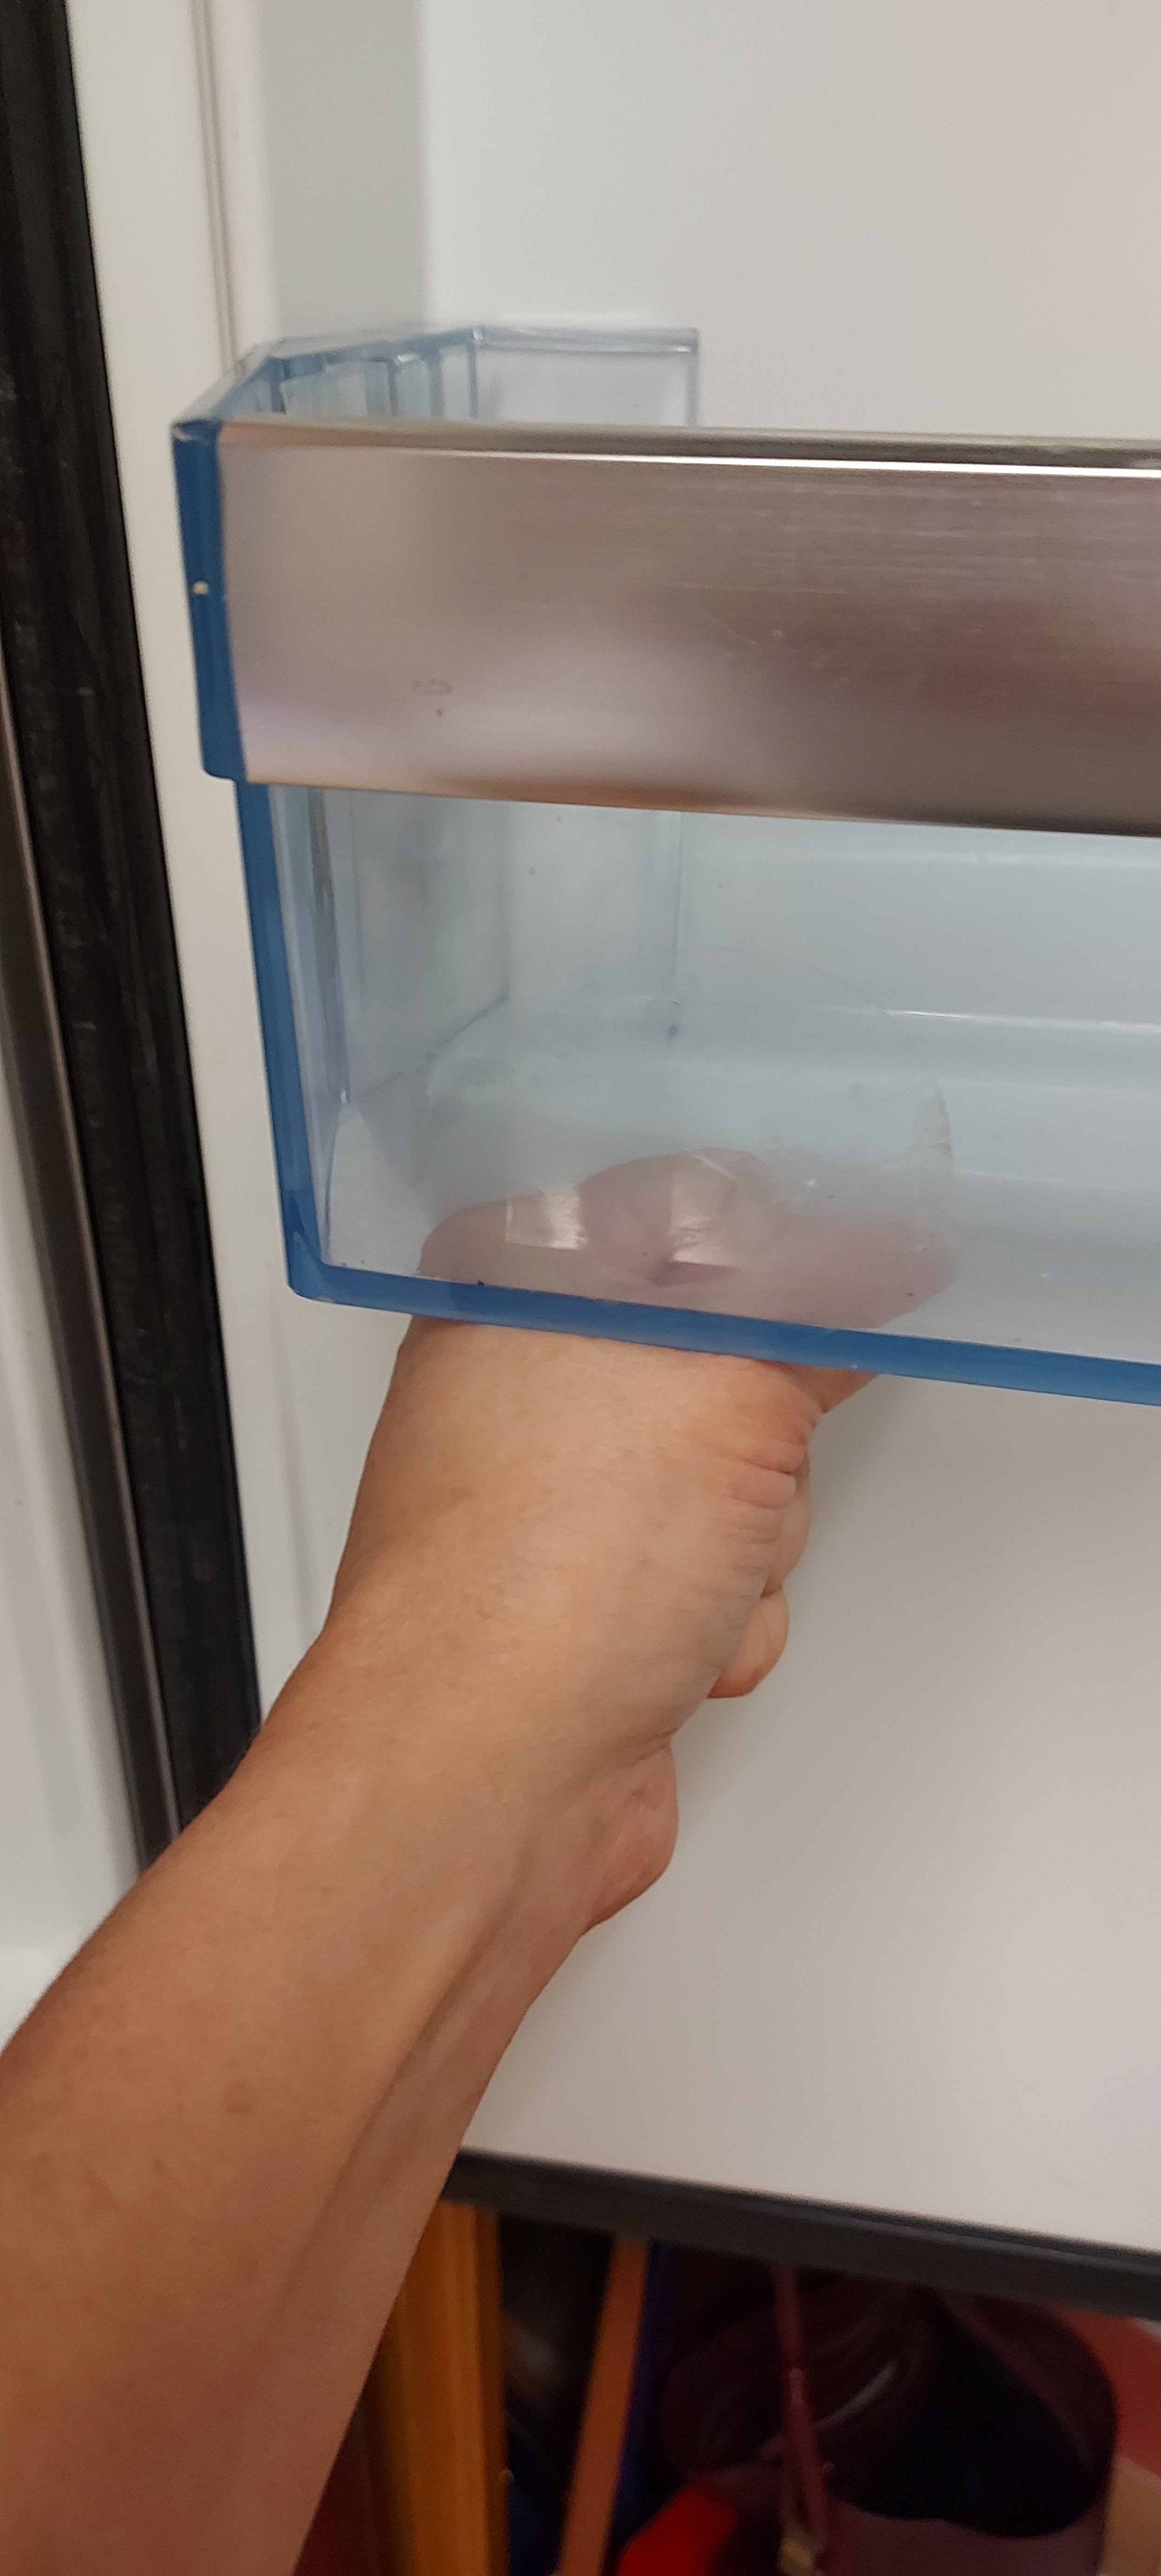
STEP 1 - As you remove the shelves and put them inside the sink spray a bit of white vinegar and a drop of washing-up liquid and give a bit of a scrub.
NOTE - In order to remove the shelves on the fridge door, I give a little shovel upwards (a very gentle one, I do not want to send the shelves flying over and end up breaking them).
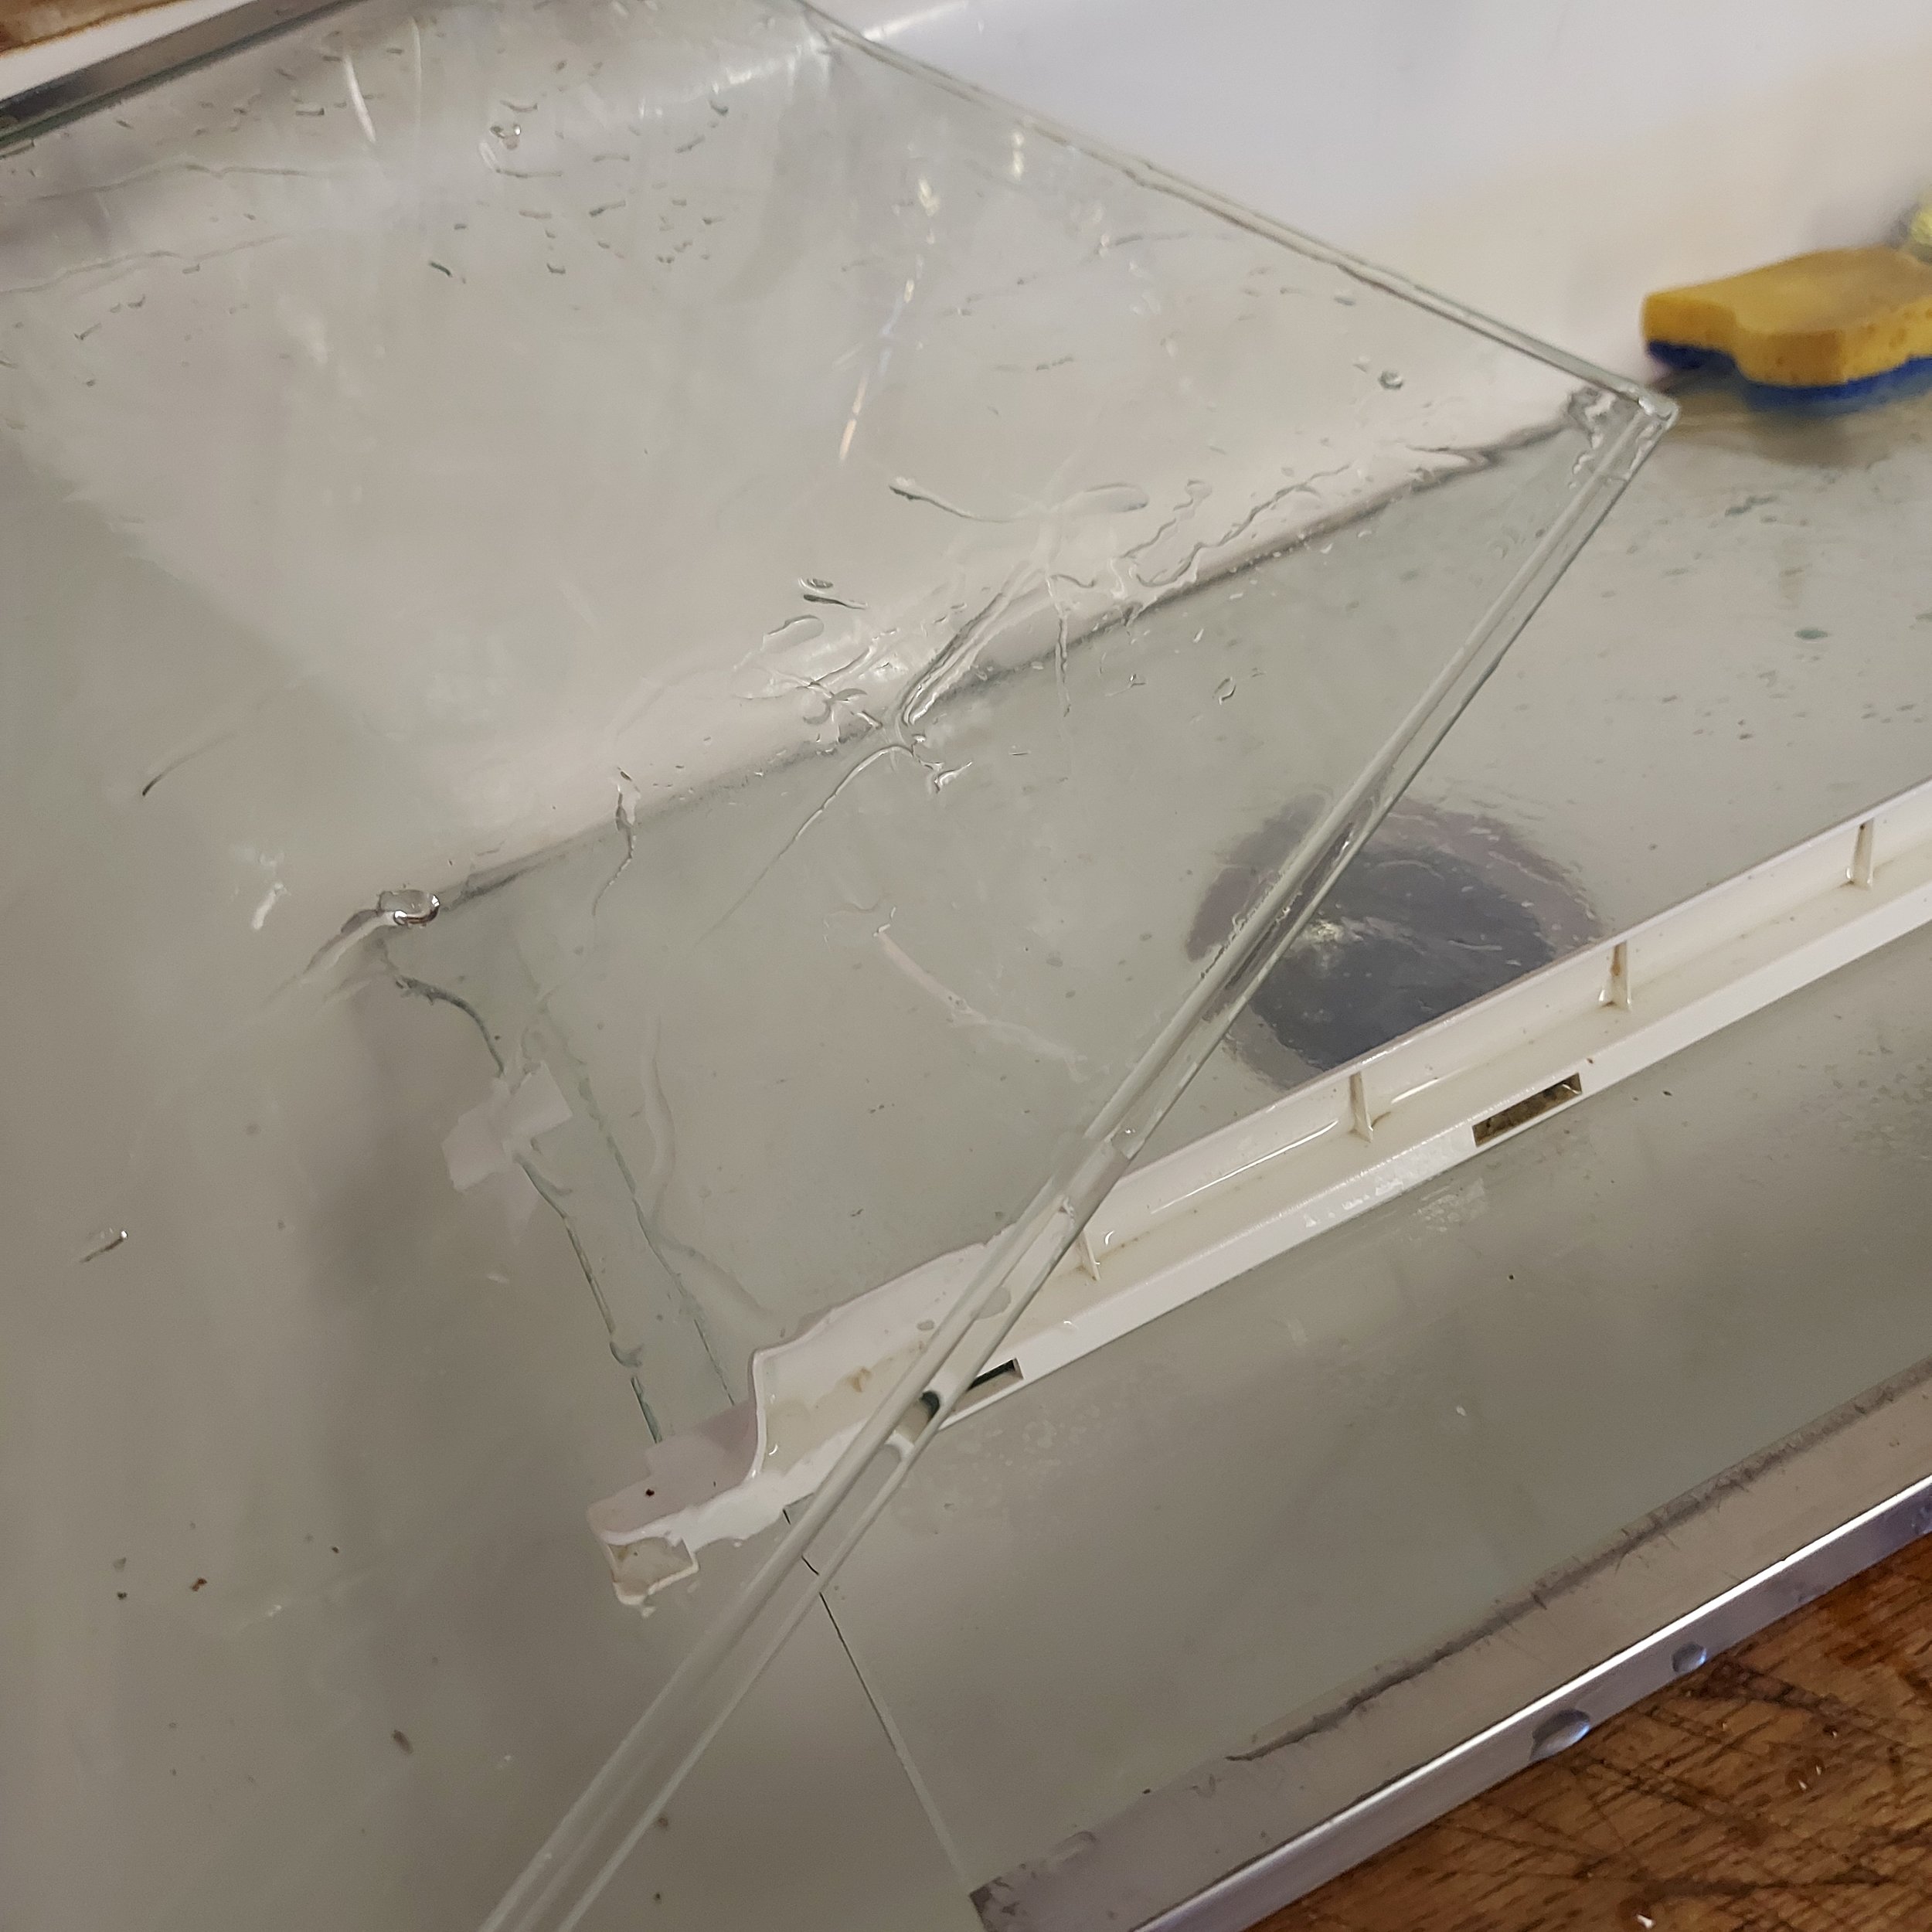
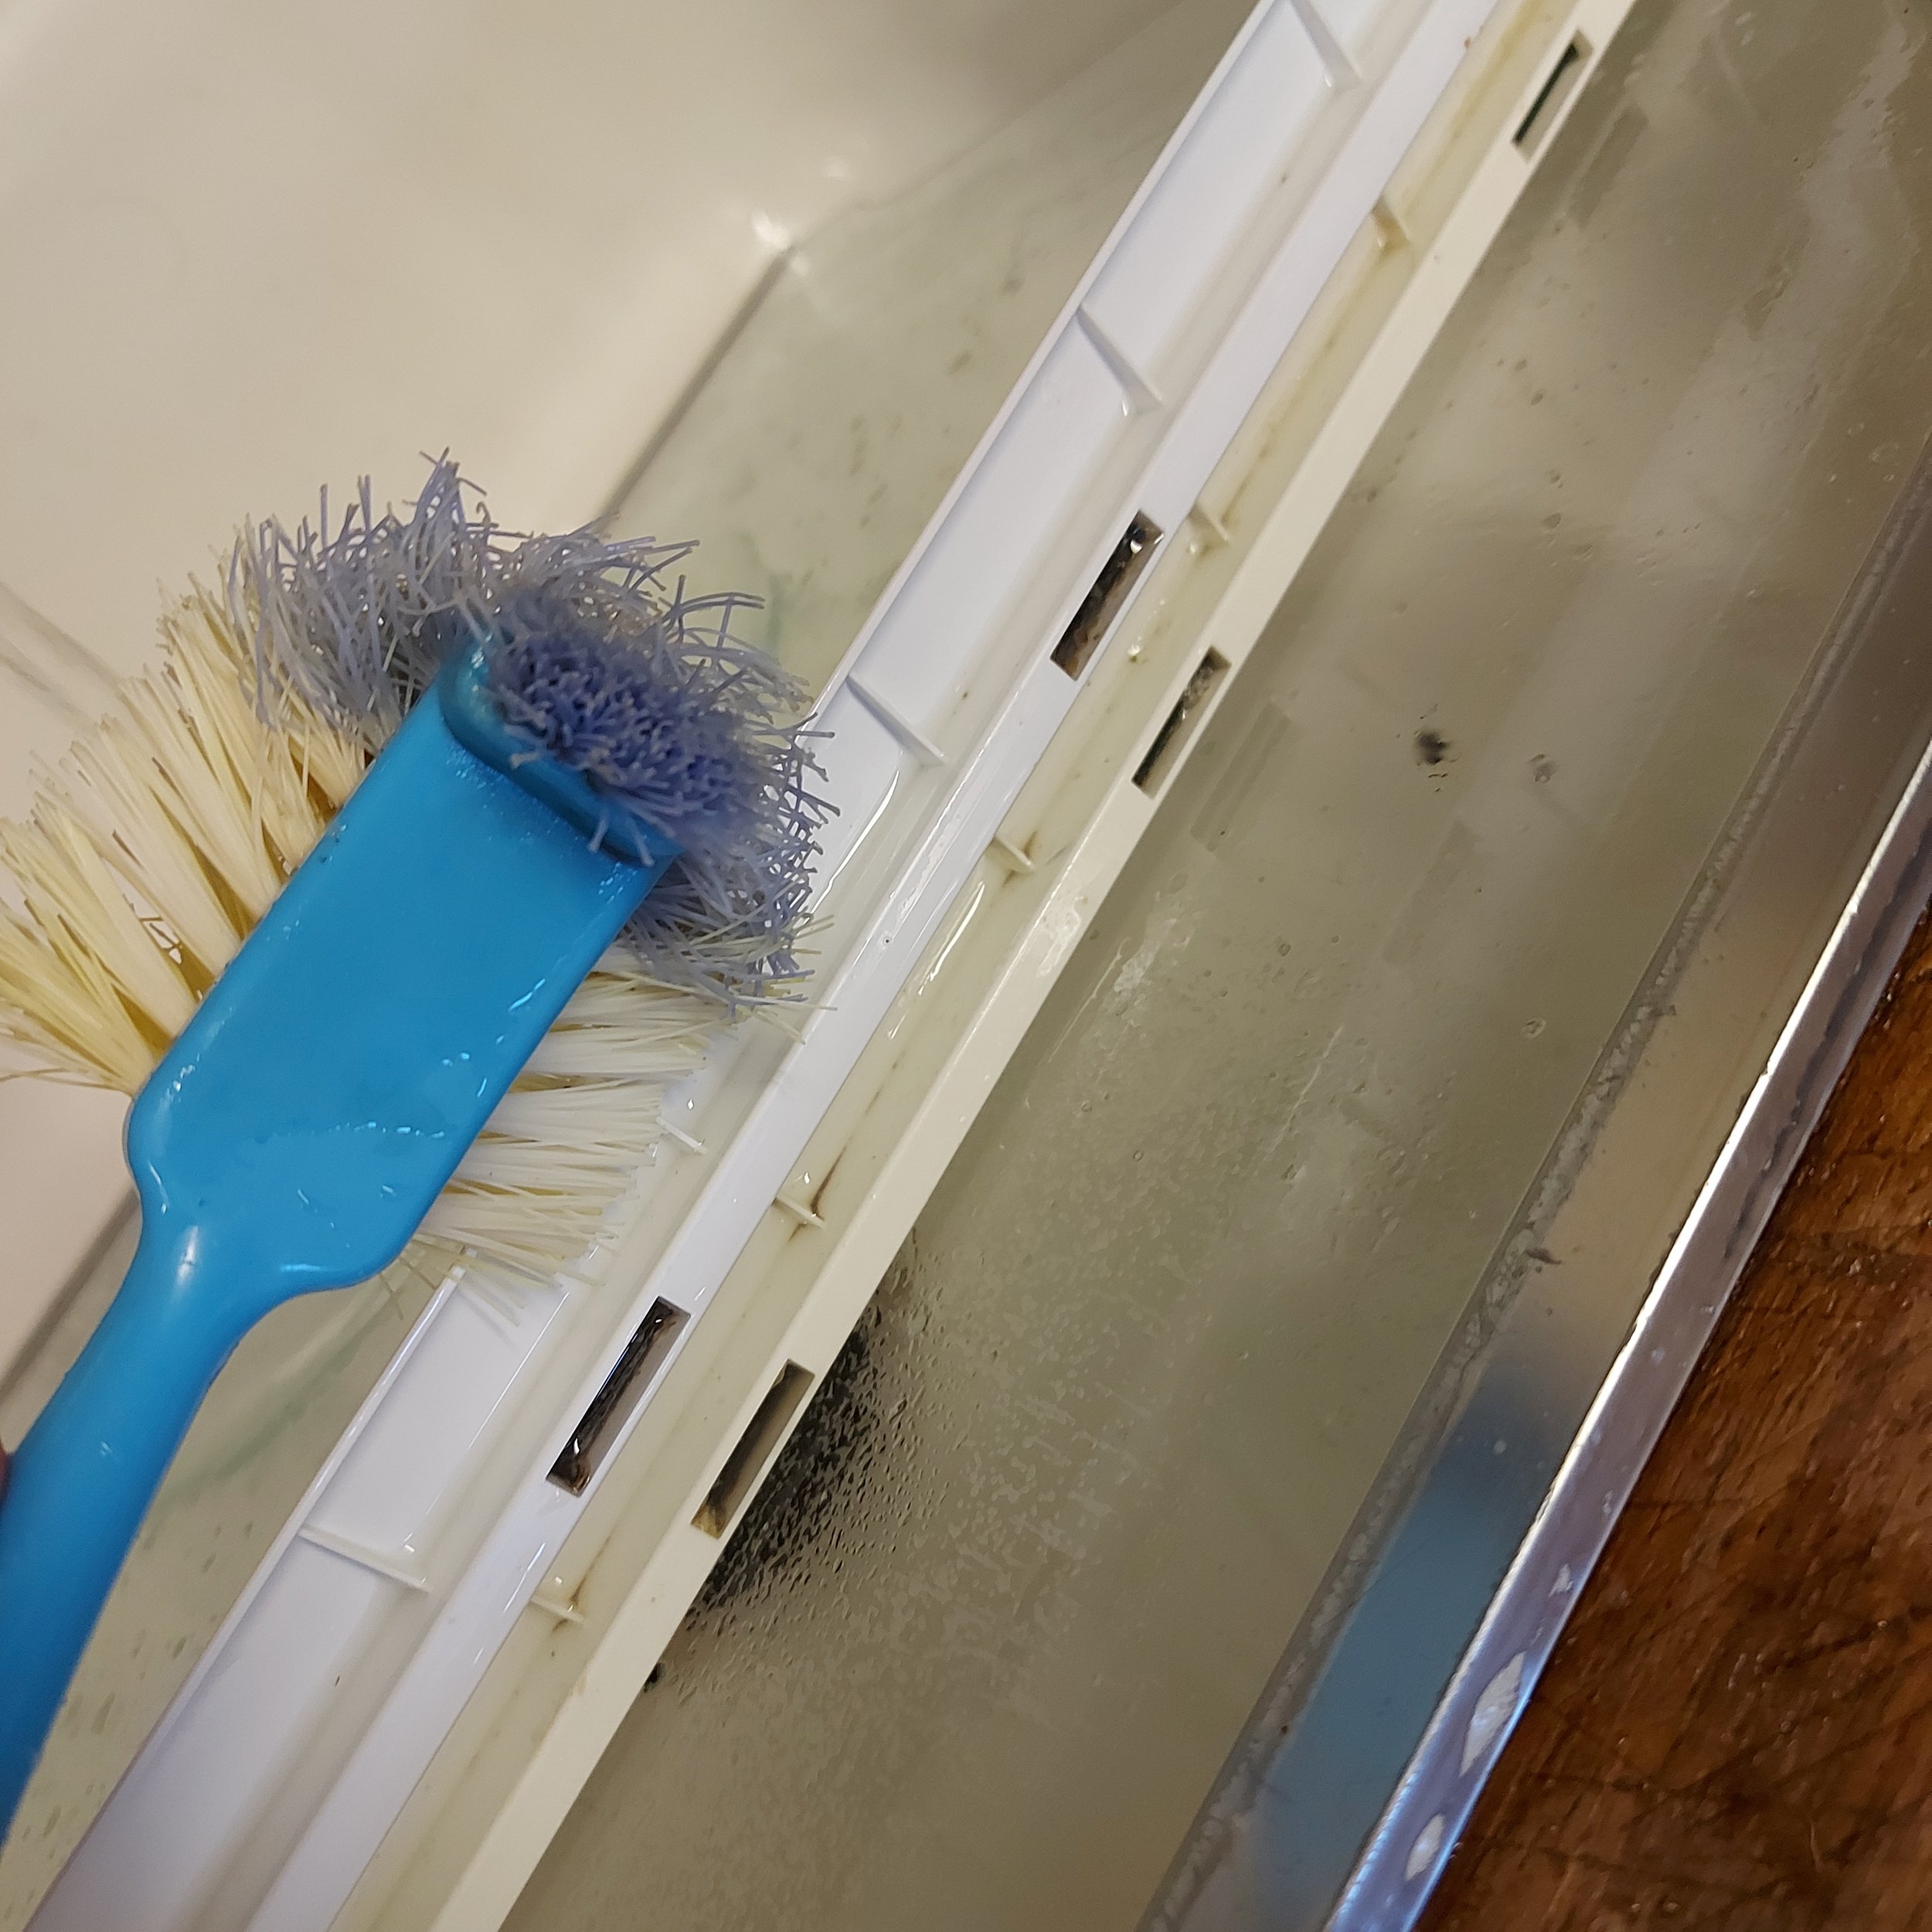
STEP 2 - Because there was a spillage, the liquid went between the glass panel and the plastic support. So I took everything apart, sprayed, added a bit of washing-up liquid and give a good scrub.
SETP 3 - With a sponge a tried to get into all the groves, the more fiddly ones I used a kitchen brush .
Now that everything is full of vinegar, washing up liquid and was given a good scrub, let it soak and turn your attention to the fridge itself.
C
CLEANING THE INSIDE OF THE FRIDGE
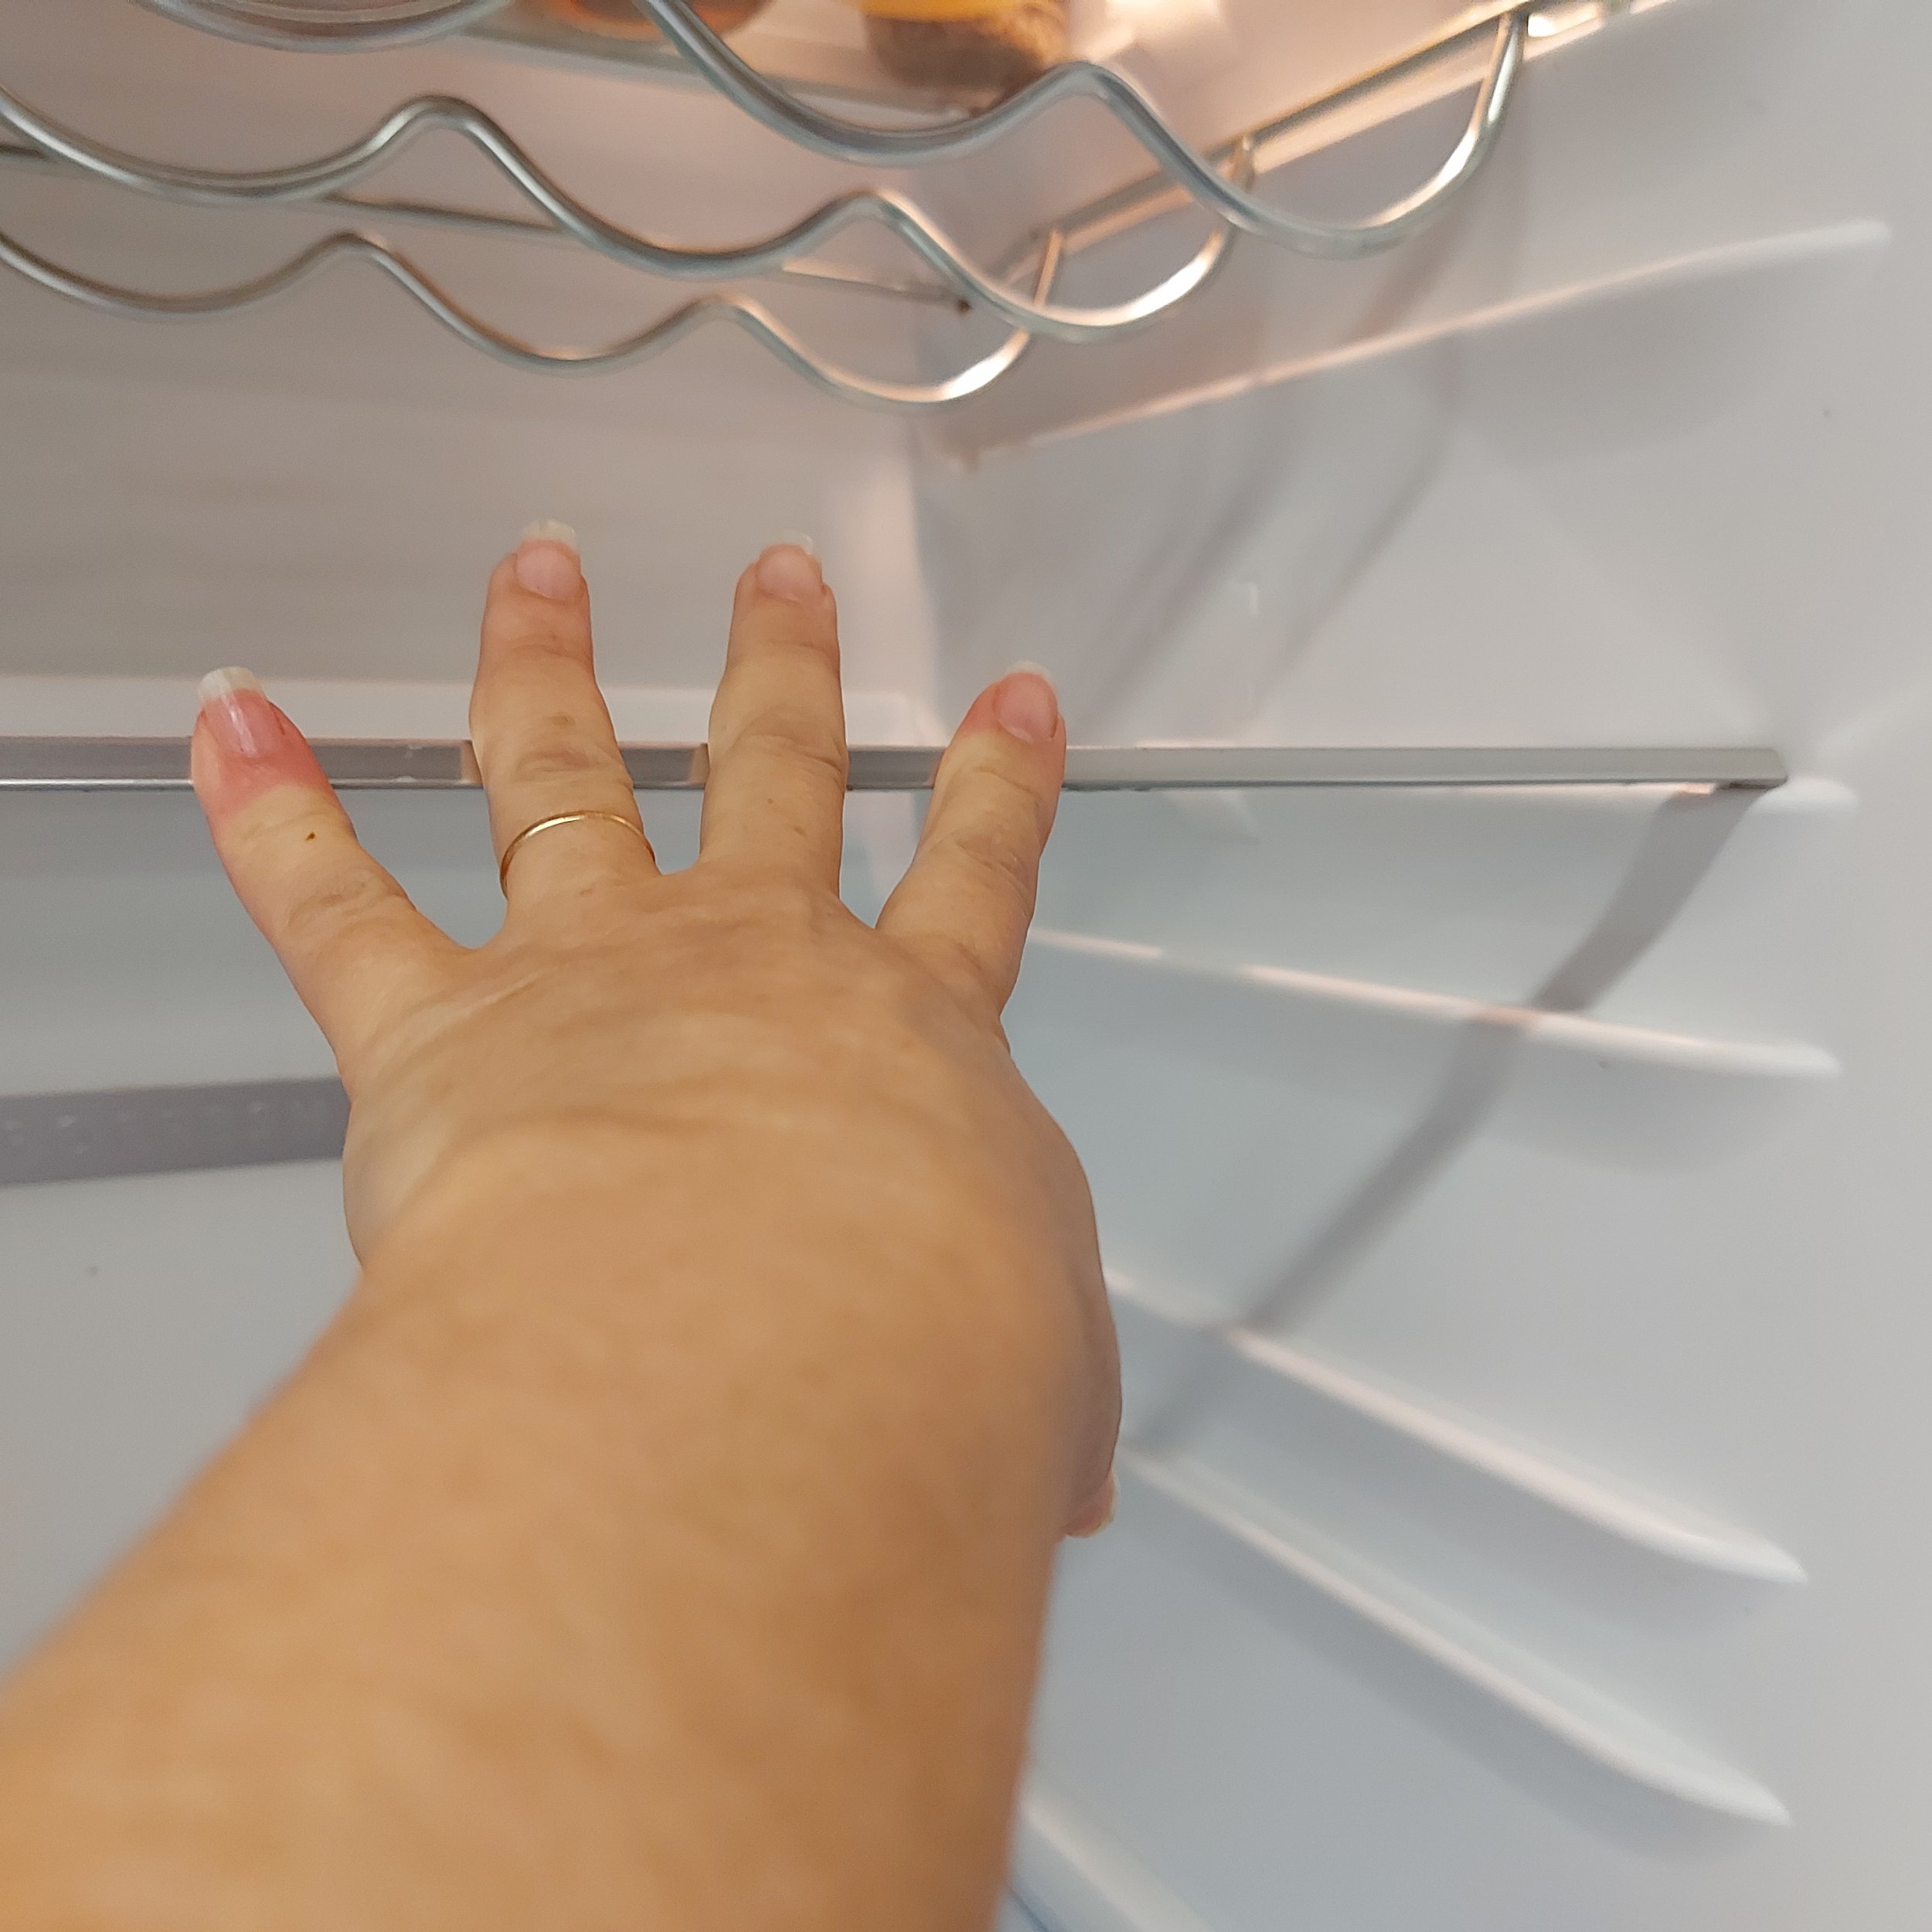
STEP 1 - Into a clean damp cloth spray a bit of white vinegar and start wiping inside the fridge.
STEP 2 - Do not forget to clean the drain at the back of the fridge (usually they have a plastic thing that can be removed)
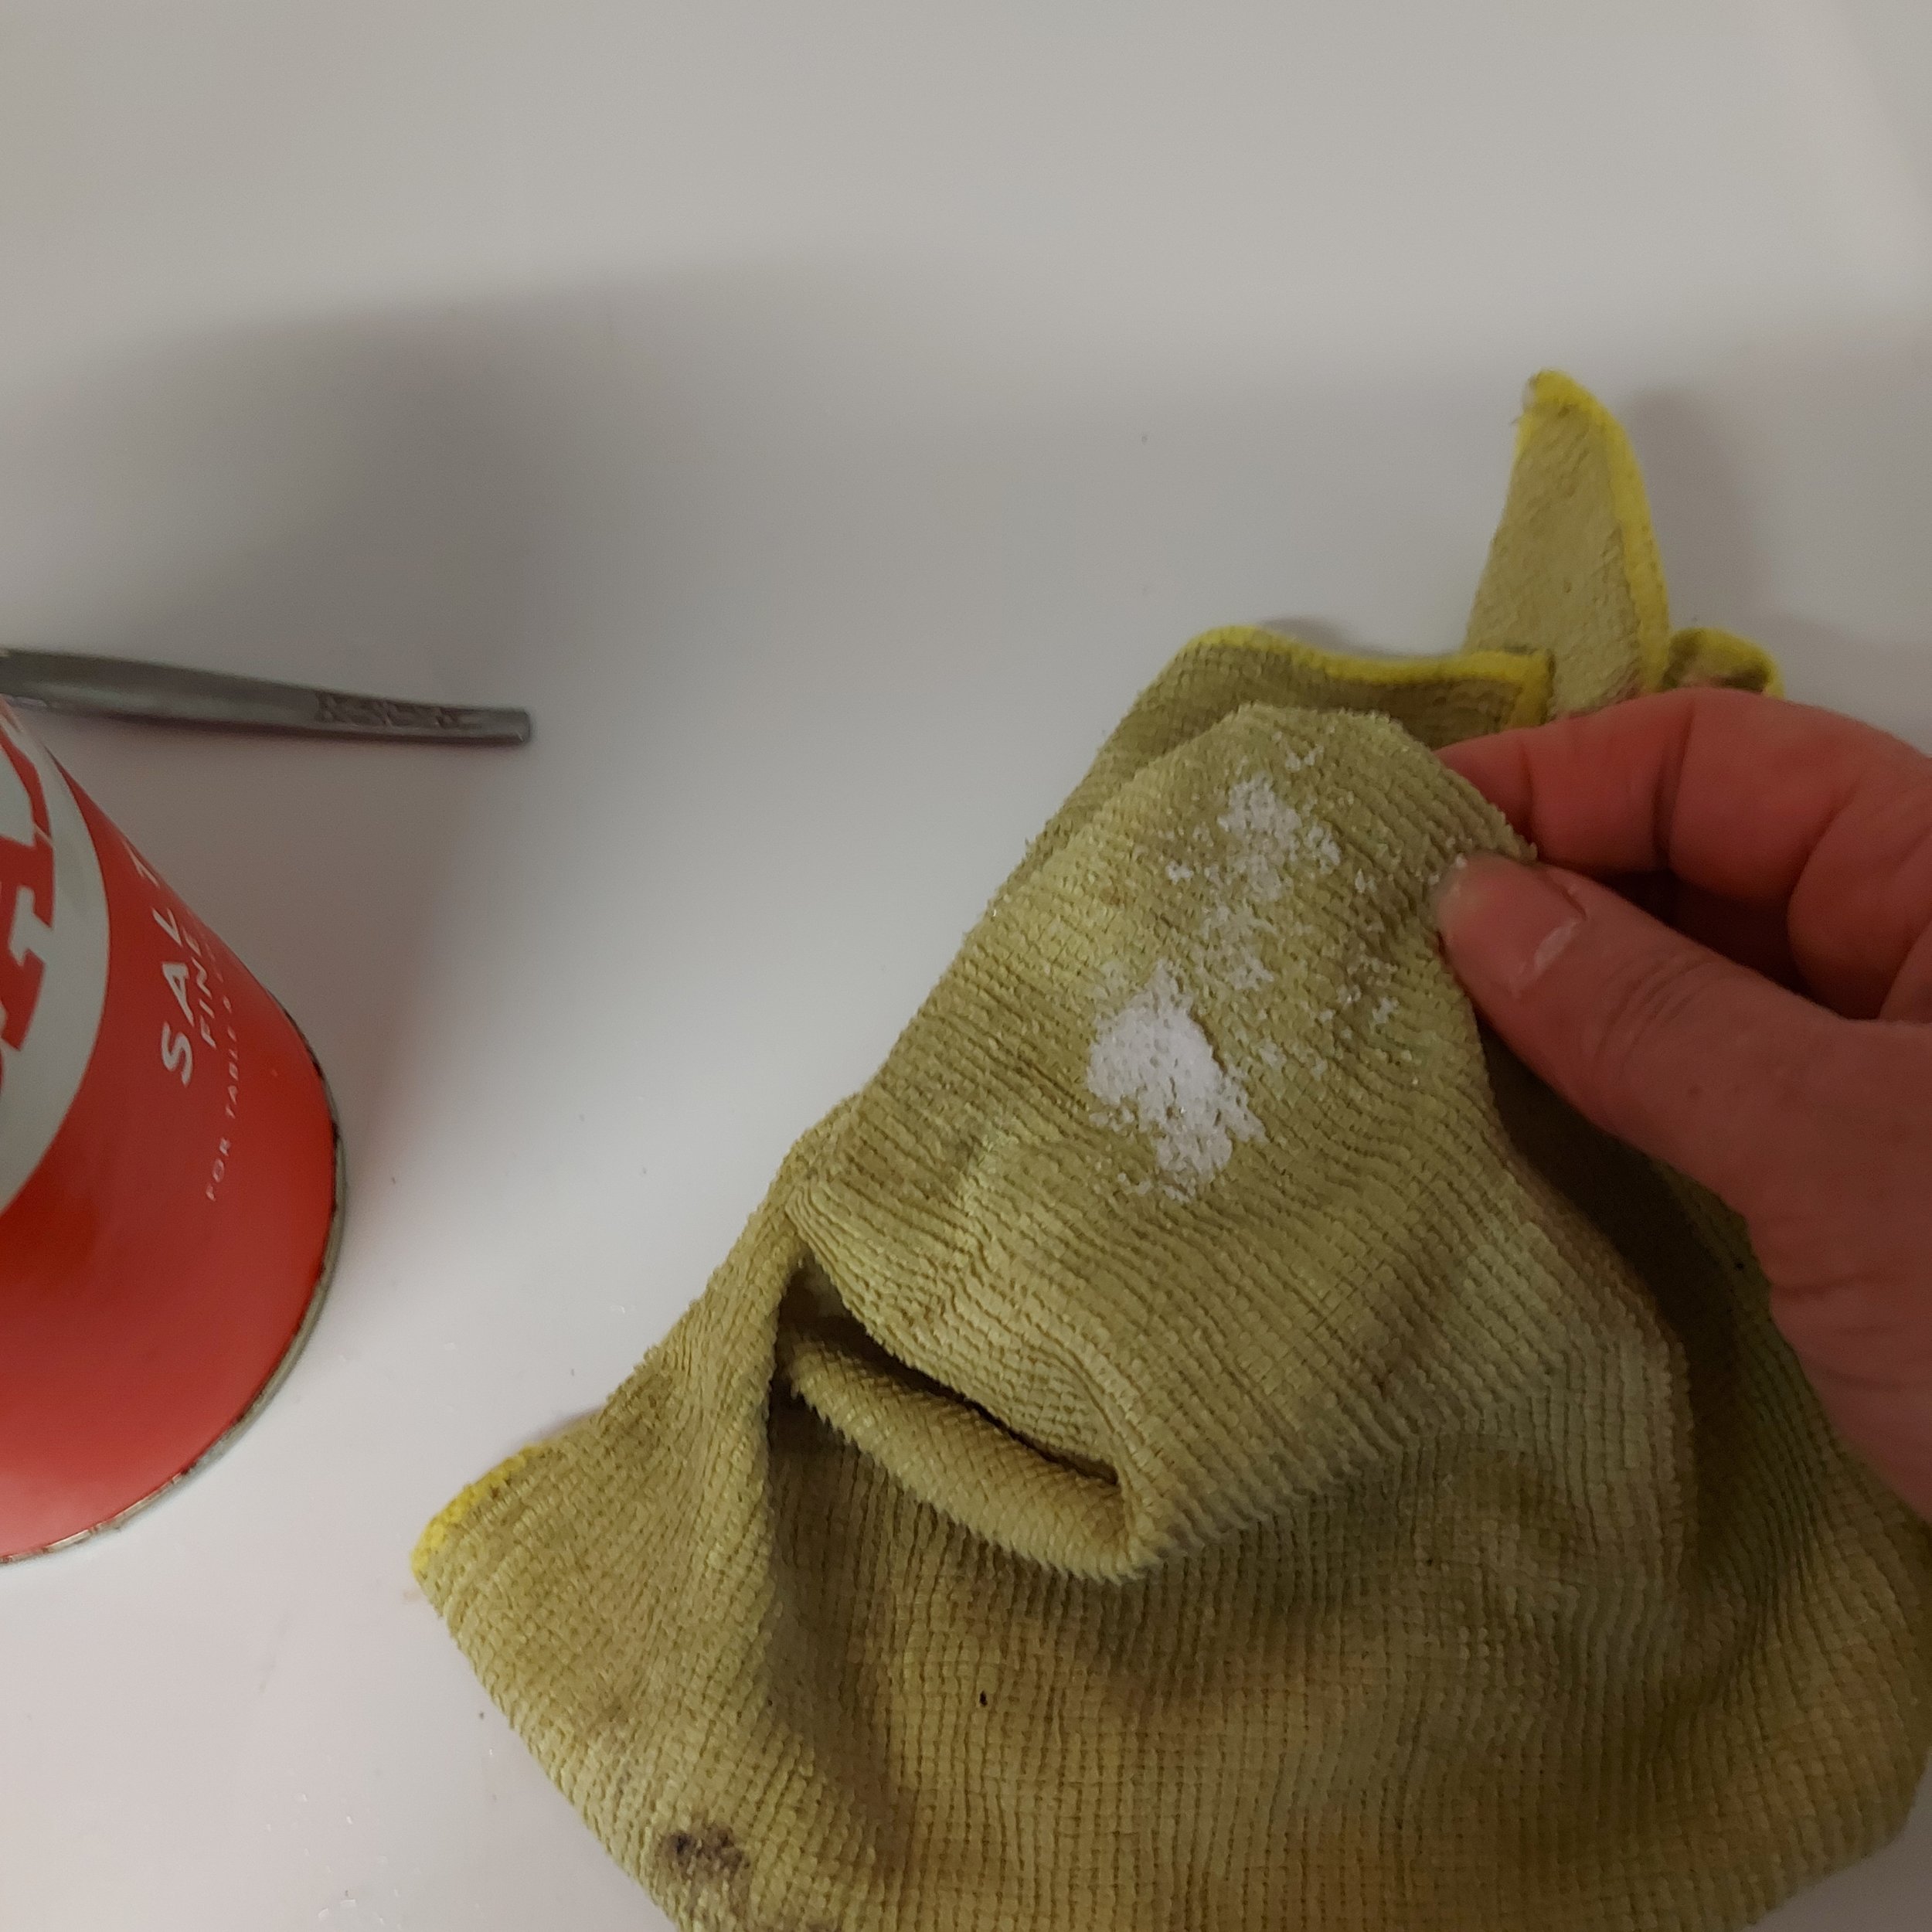
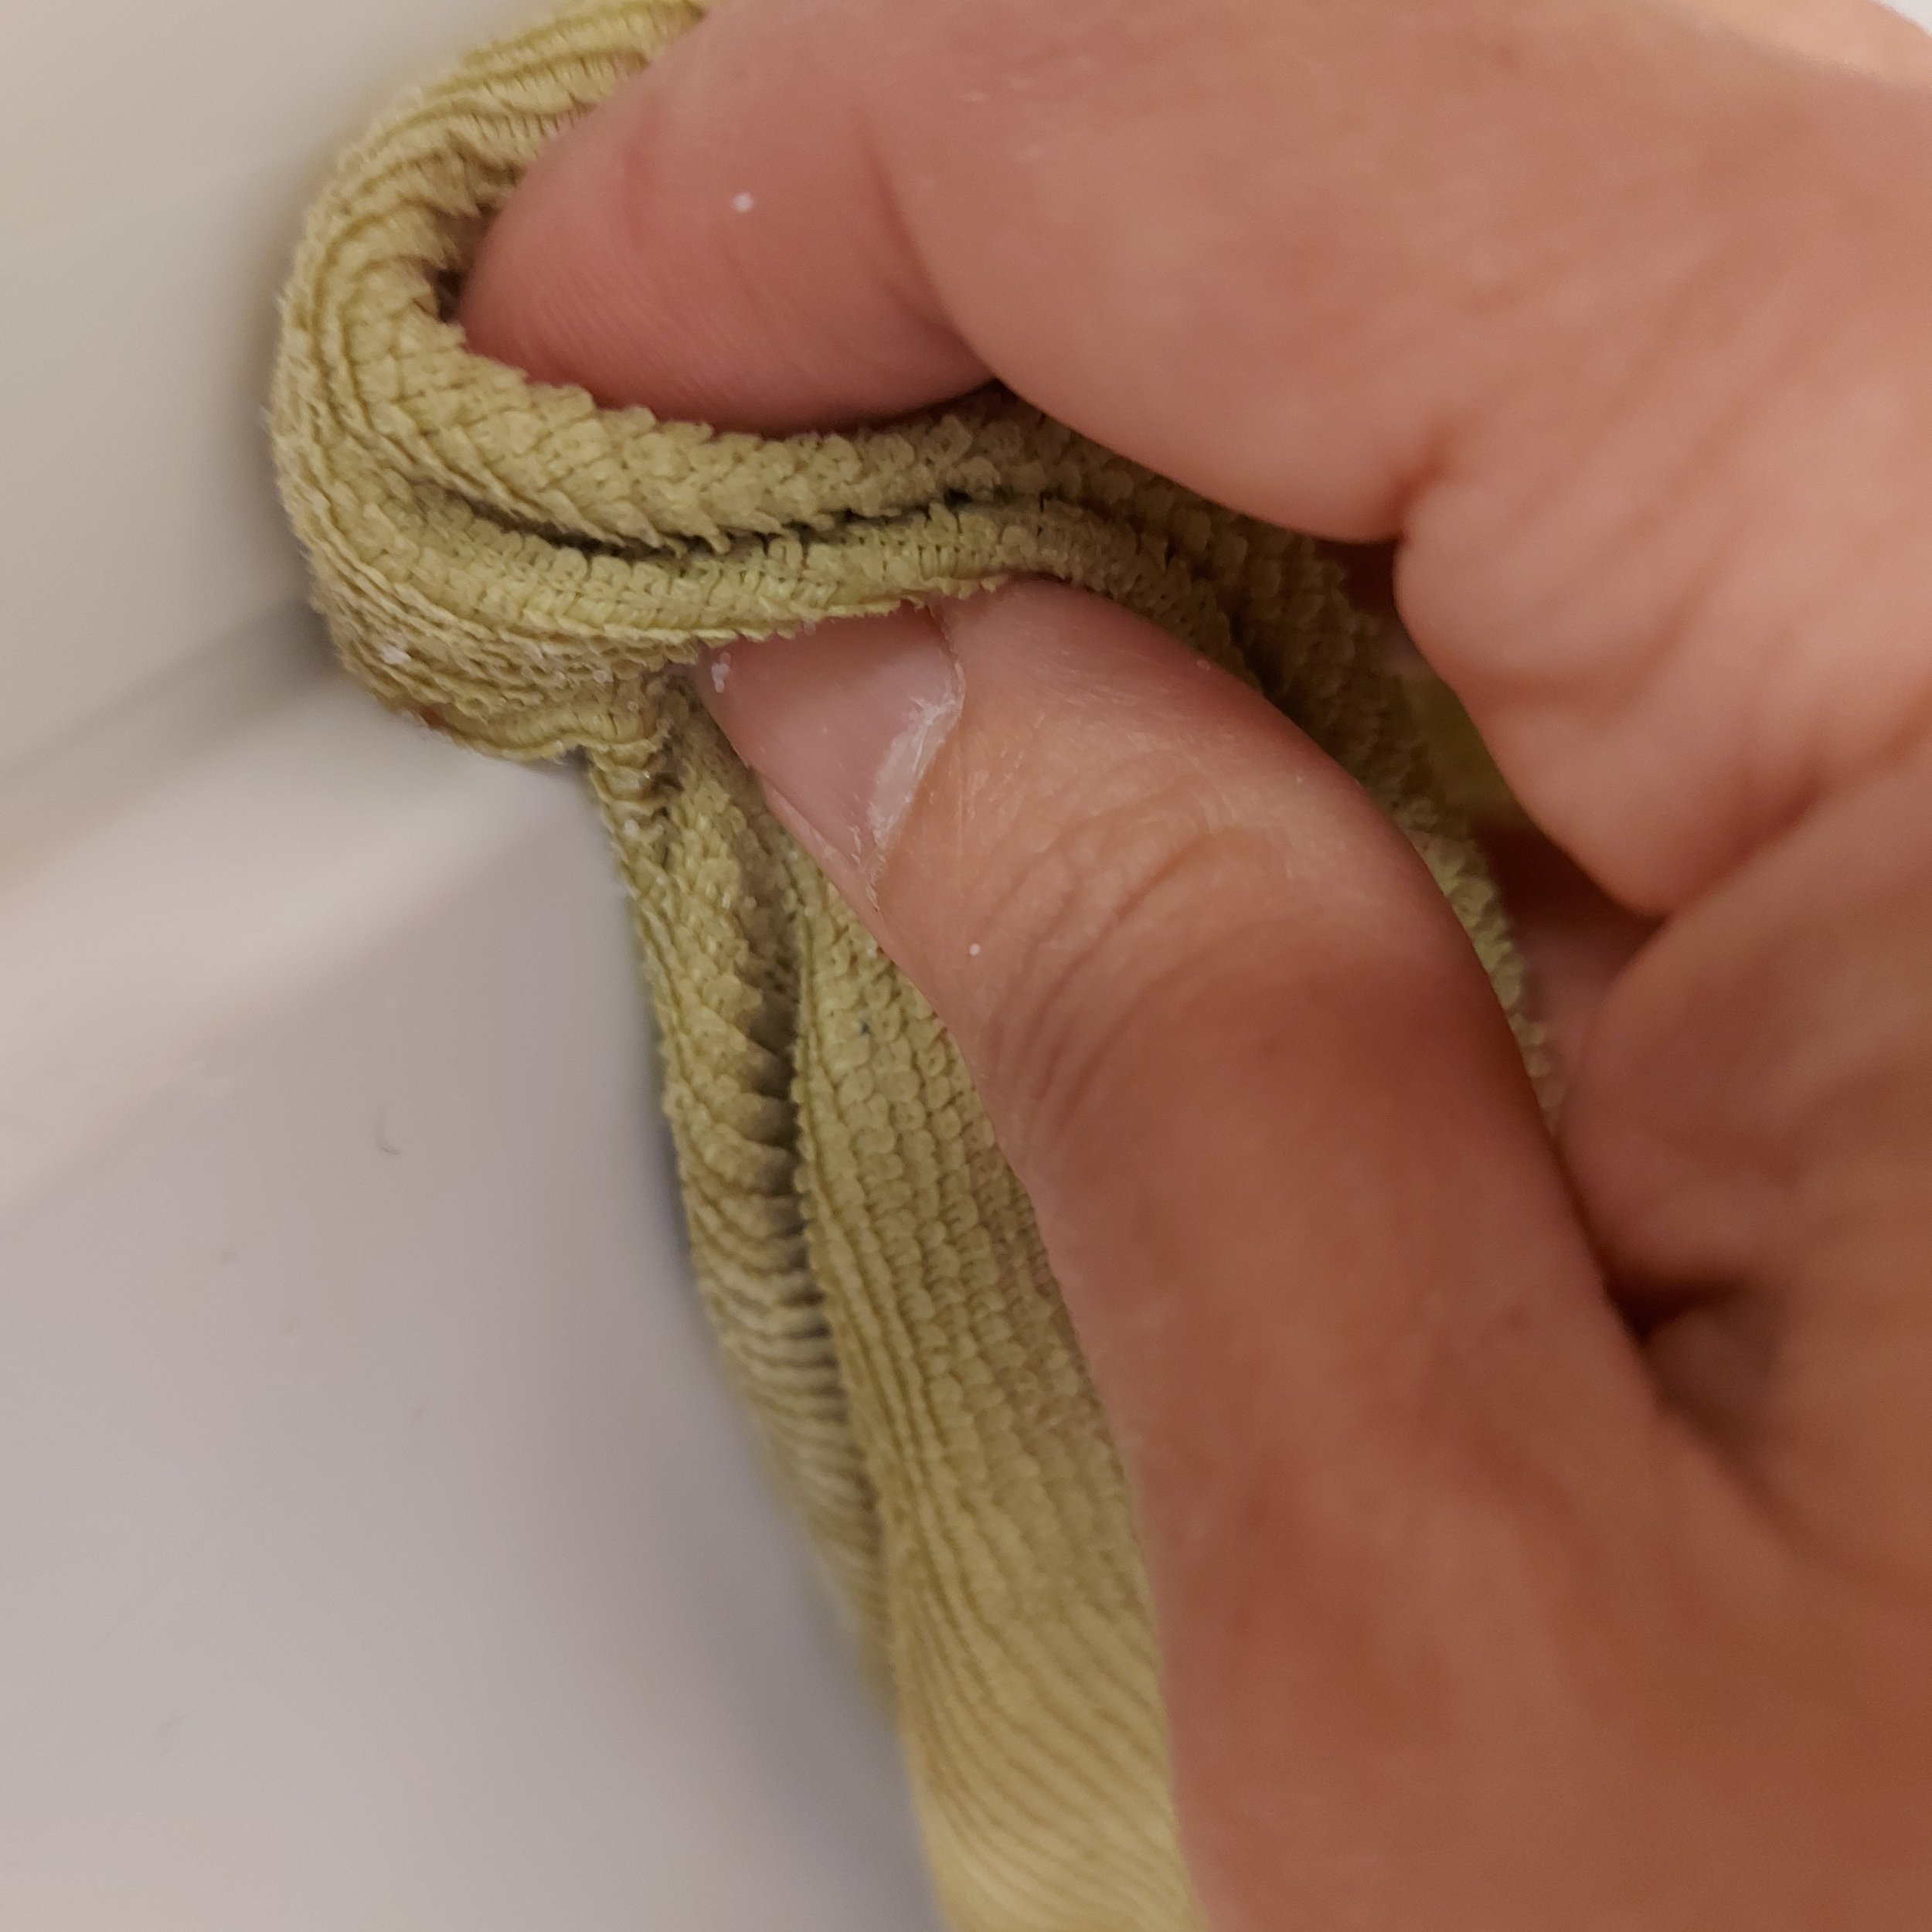
STEP 3 - If you encounter persistent stains, into a clean damp clean cloth pour a bit of table salt, press the cloth into it so the salt stays in the cloth and start scrubbing, very, very gently
NOTE - To clean the more difficult corners of the fridge I use the handle of the spoon inside a damp cloth. The spoon in this position works pretty well to remove the bits that drives one person insane.
D
Assembling and putting everything back
STEP 1 - Rinse everything properly
STEP 2 - DRY everything and assembled all the parts together. Give one last spray to the vegetable drawers
STEP 3 - Give one last clean to the fridge inside, outside and including the fridge door sealant.
Remember the photos? Now is when they come very useful.
NOTE - I like to put paper towels at the bottom of the fridge just in case.


